Monday, December 30, 2013

Level Up Your Doll Sewing - Clipping Curves

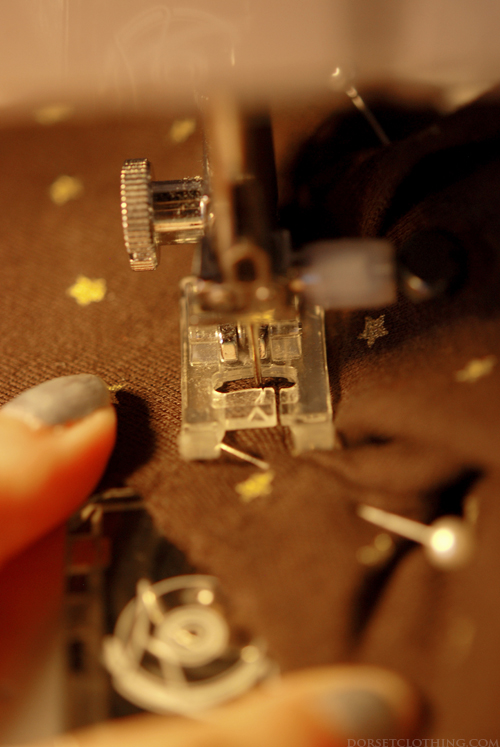
More of a tips and tricks post than a full on tutorial today, but a really handy one.

Clipping curves can really alter the way your sewing looks and sits on your doll once it is finished.

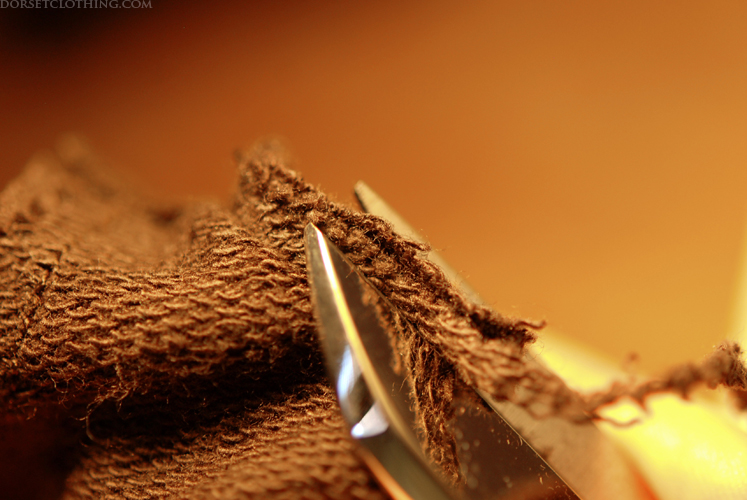
Clipping curves allows for the seam fabric to move more, so that it can overlap or pull away to create a smooth curve over the body. Without it, curves can look pointed, flat or lumpy.

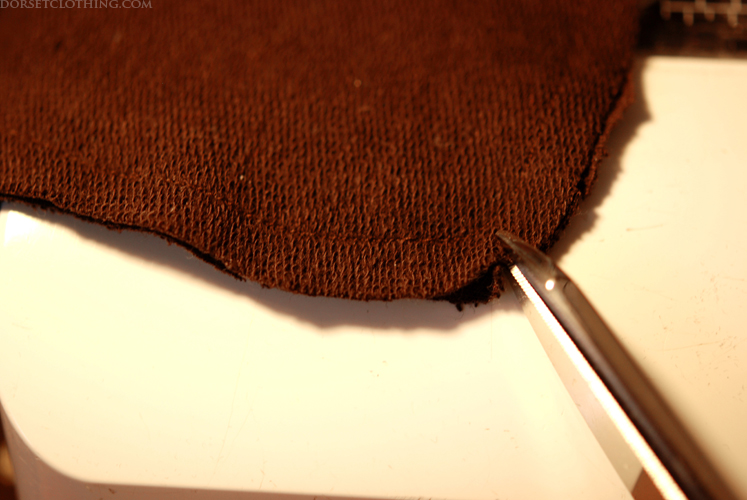
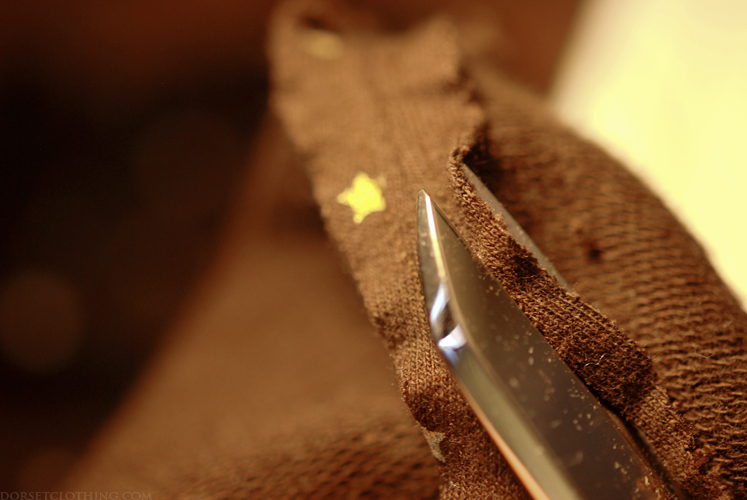
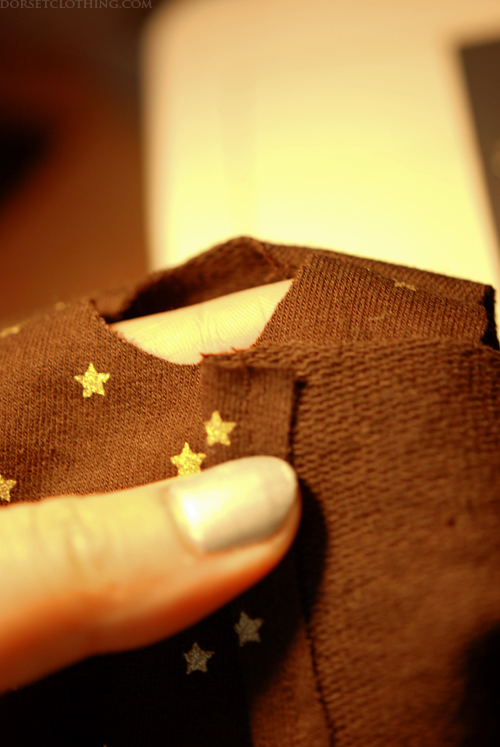
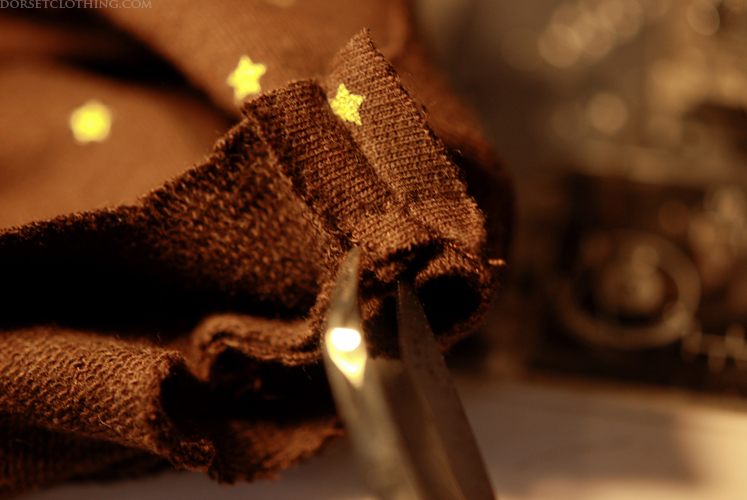
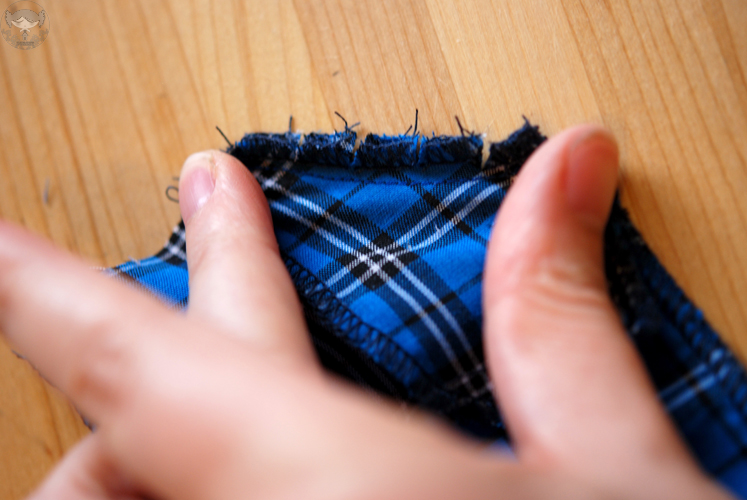
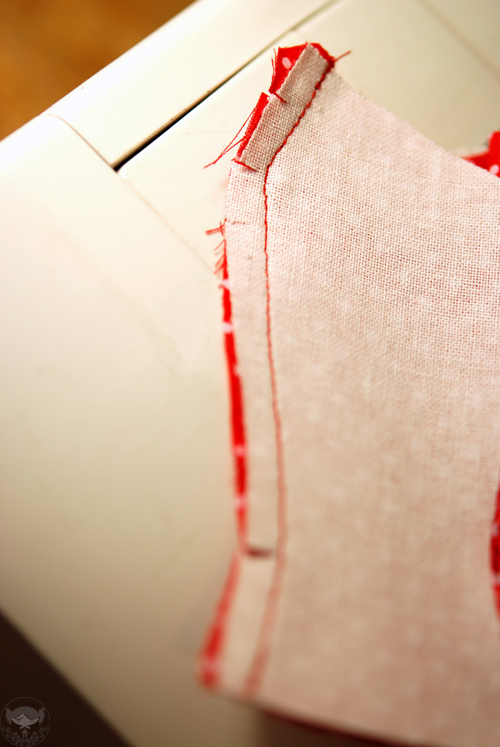
To clip a curve, simply cut into your seam allowance, stopping short a few millimetres from the stitching line. Once you turn the garment right side out and press, the curve should stay neat and smooth.

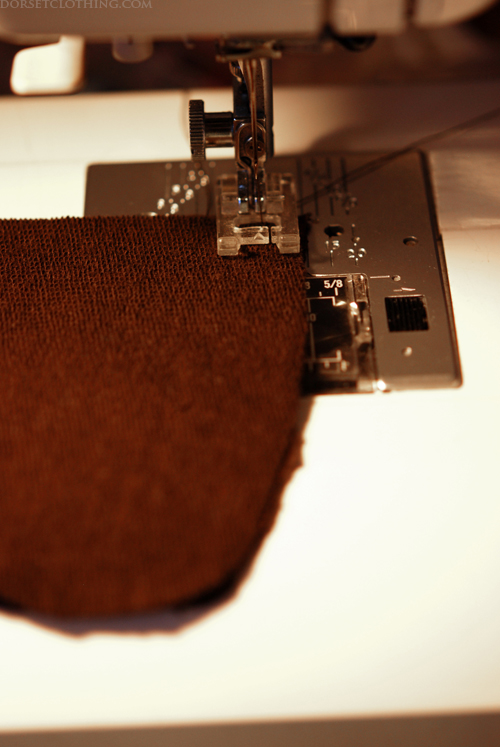
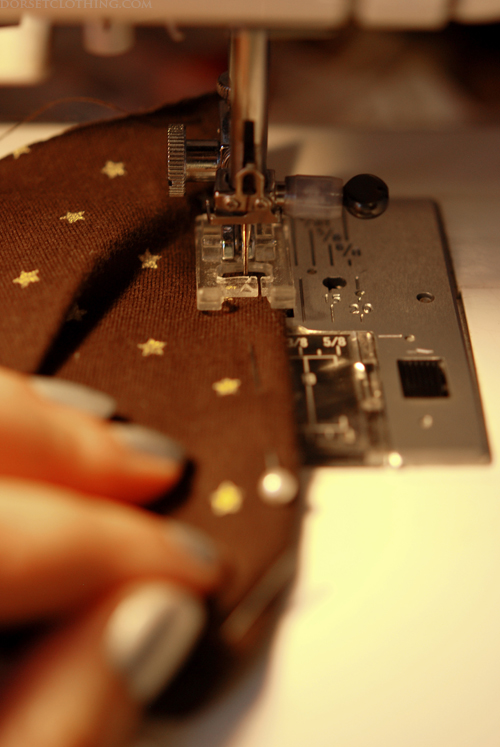
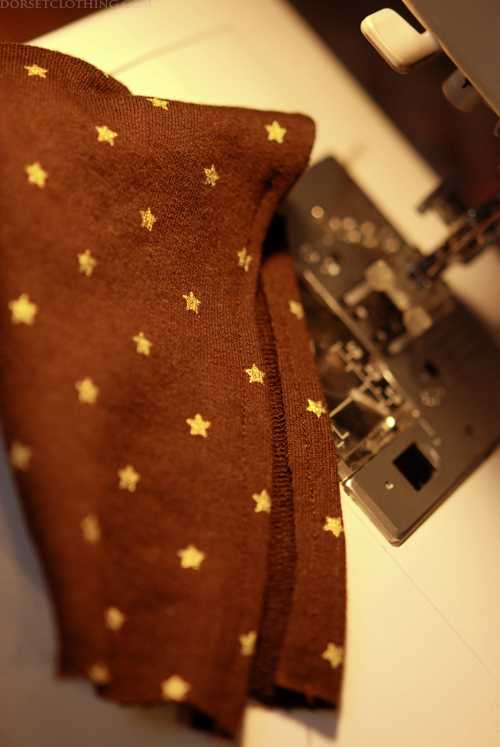
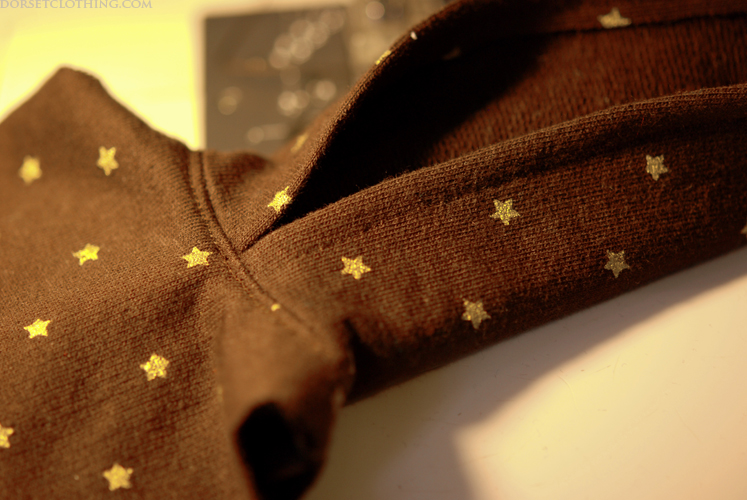
Clipping the curve of a pants pocket:


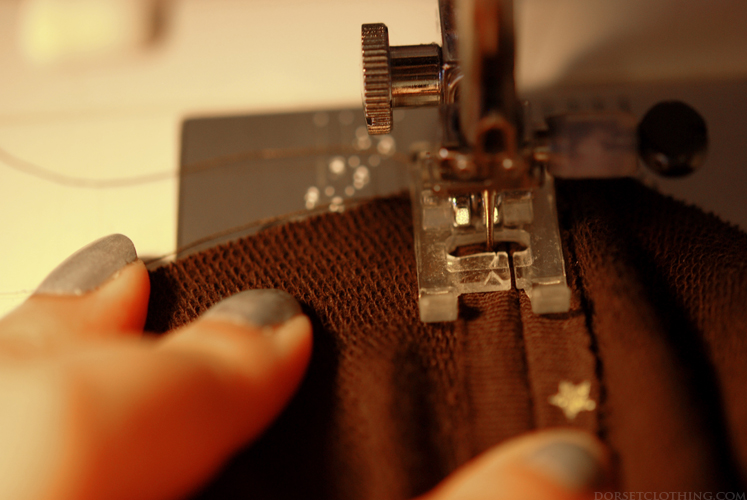
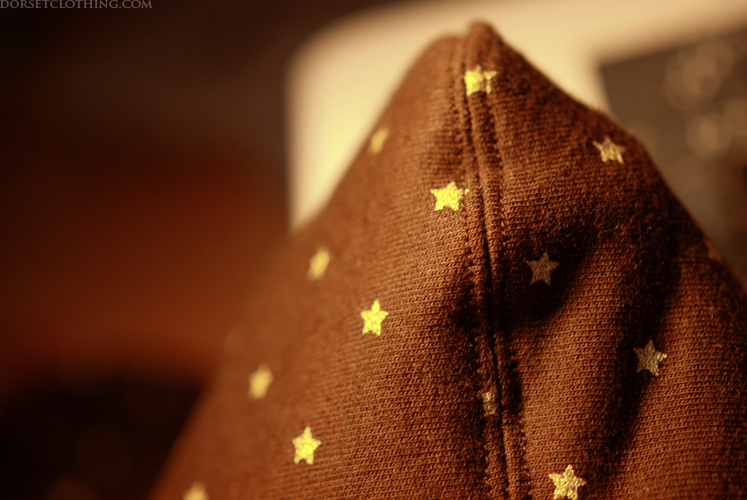
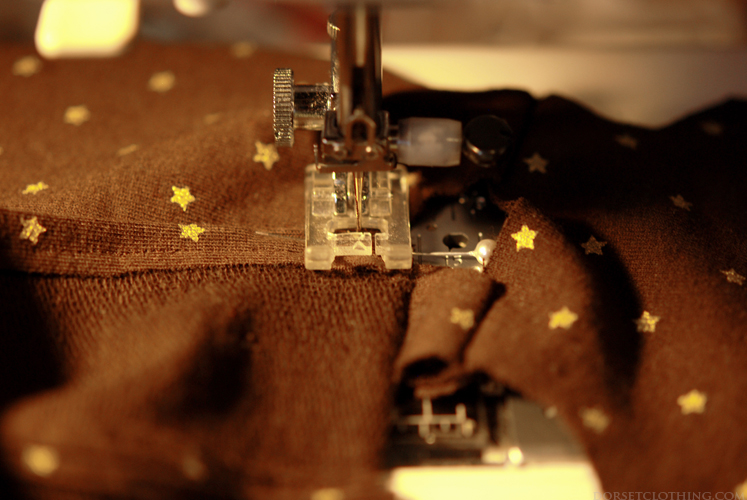
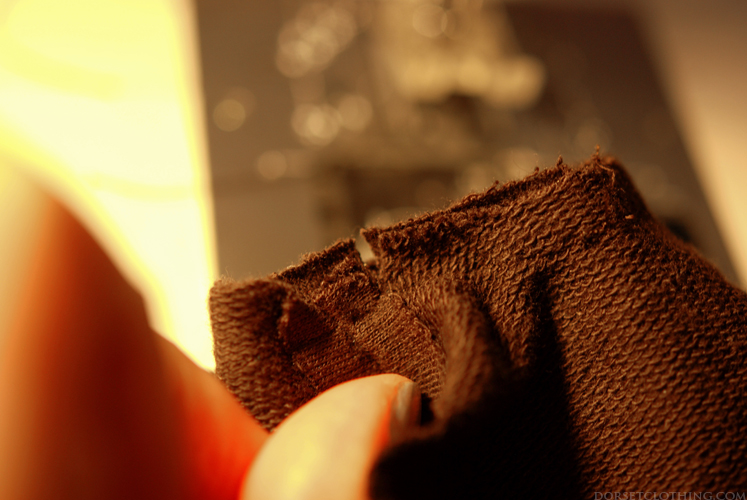
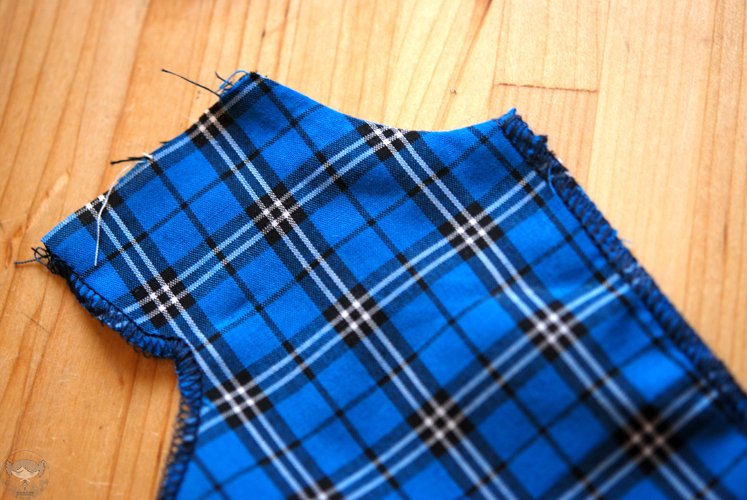
 As you can see, the curve is nice and smooth.

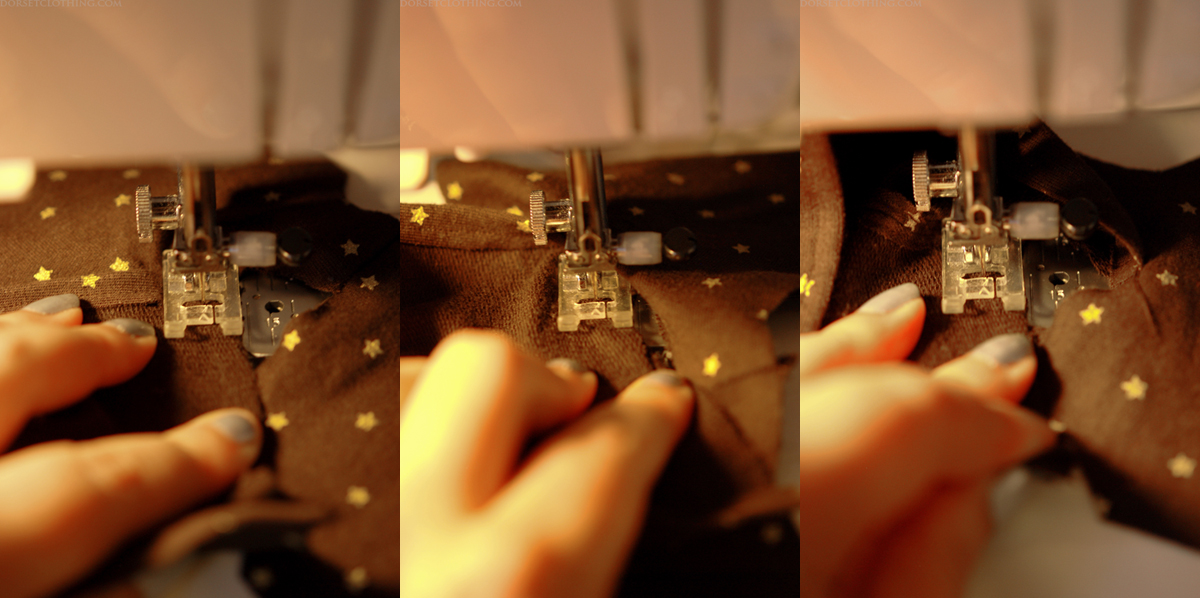
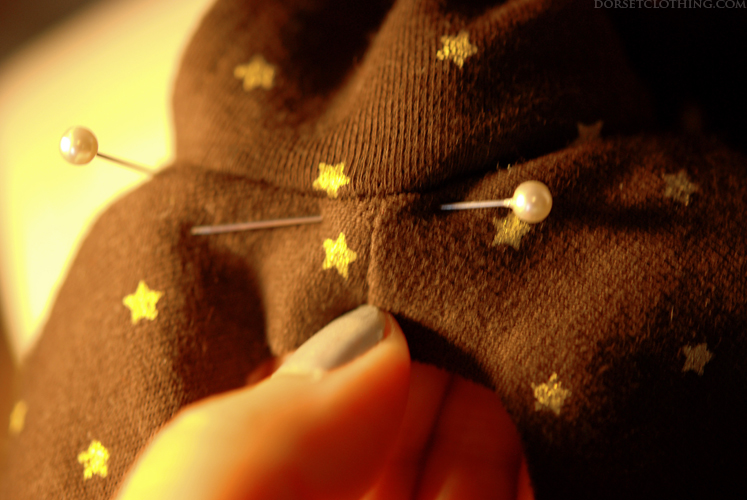
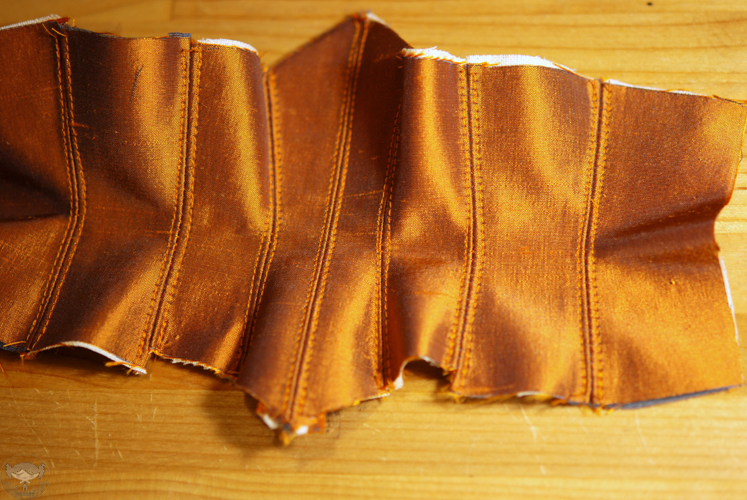
Waist and hips on corsets and dresses are another point where clipping helps with creating shape. Here I have clipped the waist of this corset to help keep its hourglass silhouette.

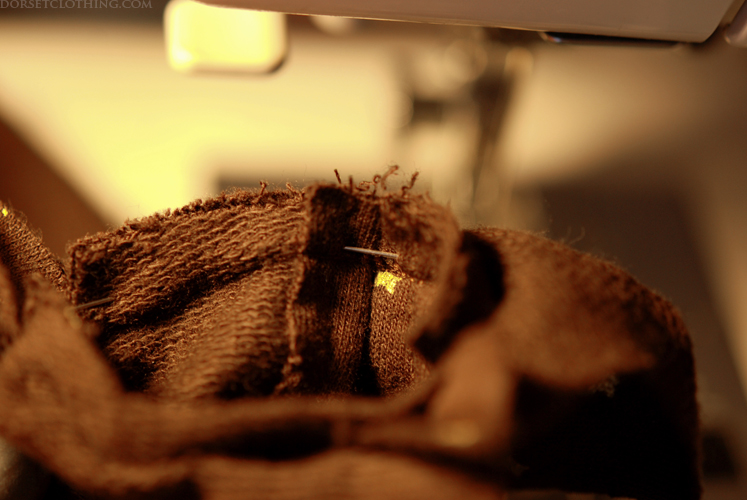
Probably one of the most important uses of clipping is at the bust, as there is a lot of curvature in a small area.
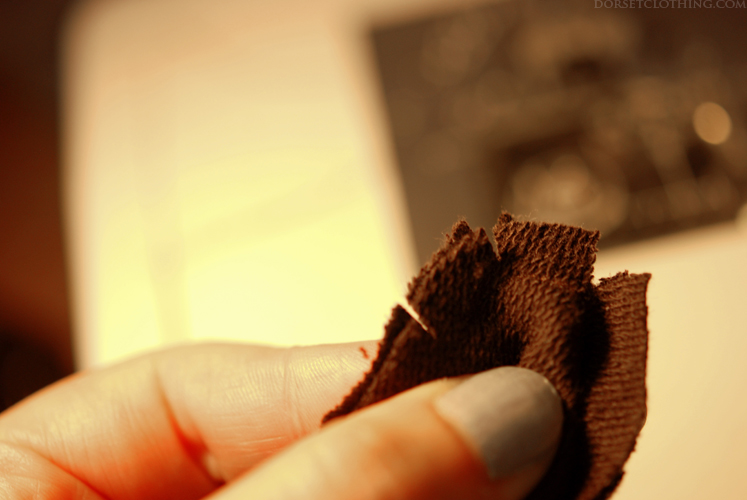
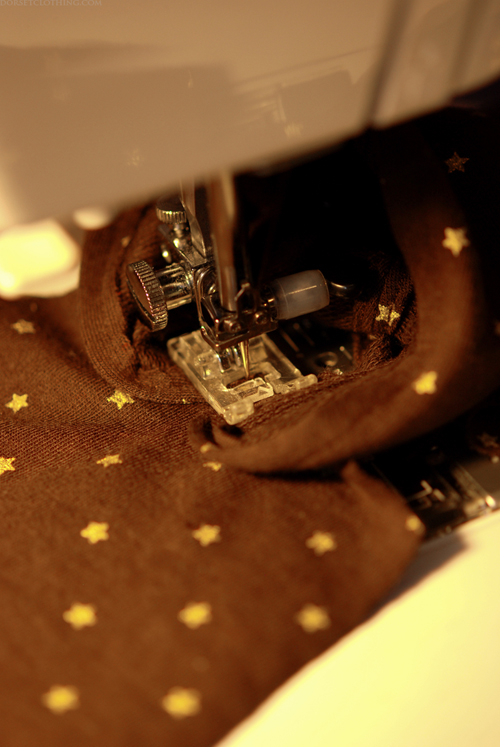
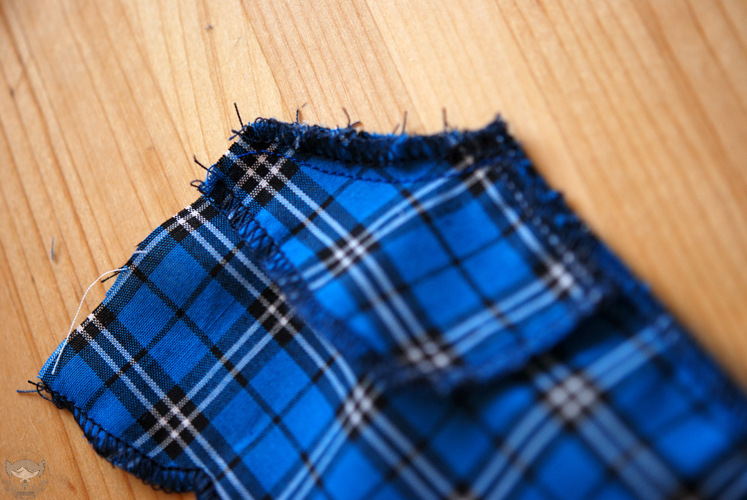
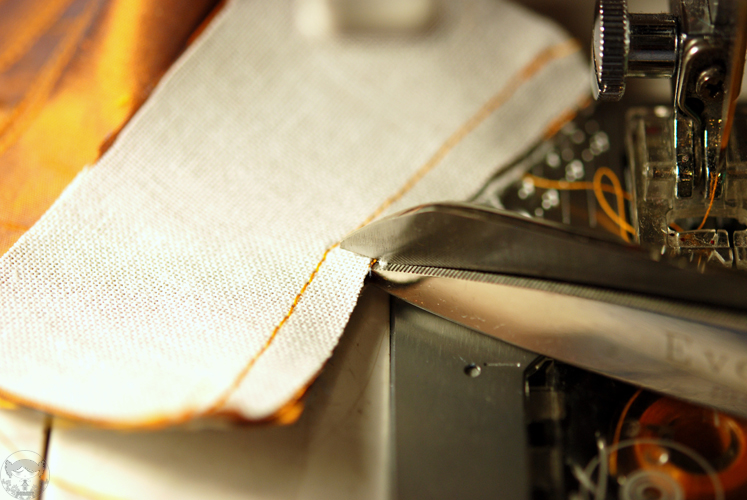
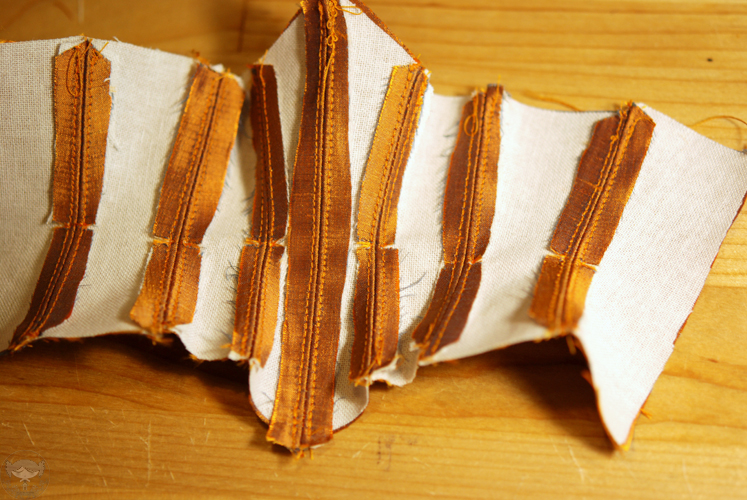
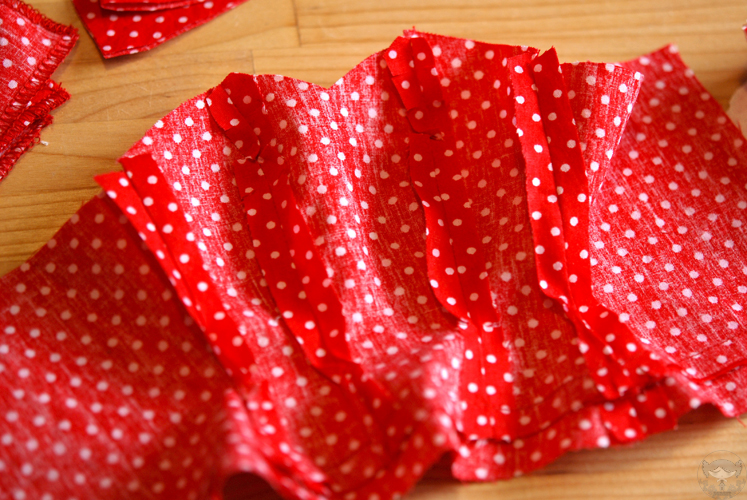
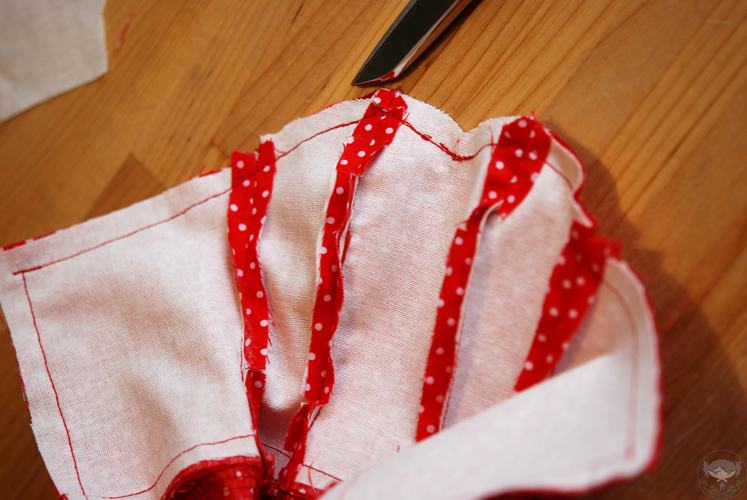
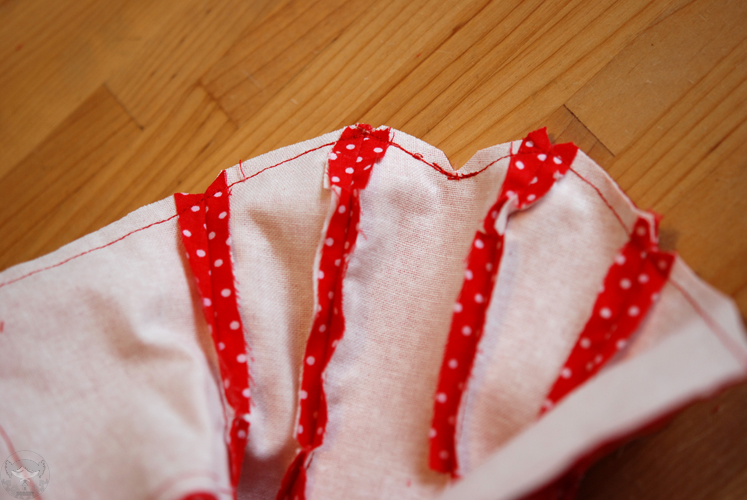
For curves that turn outwards, sometimes you need to cut V shapes into the seam as shown below, rather than just clip, as there is too much fabric in a small area, and you need to reduce bulk.

More info on clipping and reducing bulk in your seams can be found in this post by The Cutting Class.

Saturday, December 28, 2013

Level Up Your Doll Sewing - Attaching Hoods

Yes, it has been forever, I know! I've pretty much decided to keep this blog as an archive for my sewing tutorials. If you want to see me post more often, you can find me on tumblr, deviantart or instagram.

But now on to today's tutorial! I realised that I had another tutorial photographed from last year that I never posted up, so I'll do that one in the next couple of days too.

I know I've had requests for patternmaking, but I'm just not quite sure how to present it in a way that will be accessible for as many people as possible. So while I'm working that out, I'm going to stick with sewing techniques to help improve your already existing sewing skills. Today I'm going to show how I sew my hoods and attach them to my hoodies. I will do other collar posts in time, I'd like to show how I finish a number of different necklines.

So first up, sew your hood.
Clip the curves of the hood. You do this by snipping the seam allowance with scissors, stopping a few mm short of the stitching. (the other tutorial I mentioned is actually about clipping curves, so I'll get on that asap for you!)


The clipping allows the fabric to move about better, as seen above. It helps give a smoother curve when you turn the fabric right side out.

Lay the hoodie flat, right side face down on the machine. Flatten out your seams and stitch down.
Trim the excess seam.
The outside should look something like this:
Fold and pin the front of the hood and sew in place:
The hood is now ready to sew on to the neck and should look something like this!

Attaching the hood:
Sew both shoulder seams of your top. Turn right side out. Take your hoodie and line one side of the opening up with the centre front, right sides of the fabric together. (I do this by eye, but you can mark the centre front with chalk beforehand)
Pin it in place just at this point.
Now here comes the tricky part, and I wish my photos explained it better. Slowly sew the hoodie to the neckline, using just your hands to turn and position it along the neckline as you go. You may need to stretch it to get it into place. The main things you need to remember is that you want your opening at the centre front, and the centre back seam of your hood at the centre back of the top. (I'm only using one hand in the photo as I'm using the other to take photos of course, but normally I would be using my other hand to make sure the rest of the top is clear from the sewing needle, so that it doesn't get caught).
As you get to the end, line up the other opening of your hoodie and pin it next to the one you've already sewn in place, and finish sewing.

Flip the hoodie over and clip just once near each shoulder seam.

Flip it back over to the right side, and pin the seams to the top:
Double check you've caught the seams with your pins like so:

Lay the top flat on your machine and top stitch the seams to the top.
I usually line the seam line up with the gap in my machine foot, so that I have an even gap of a few millimetres between the seam and the top stitching line. Once again, go slow, and feel under the hoodie as you go making sure that the seams are laying flat and being caught by the stitching.

Once again, flip the top over to the wrong side and trim the seam allowance:

And there you go, your hood is attached!
As usual, let me know if something doesn't make sense, or if you need more pics to explain something better. And I'm always open to suggestions for tutorials!